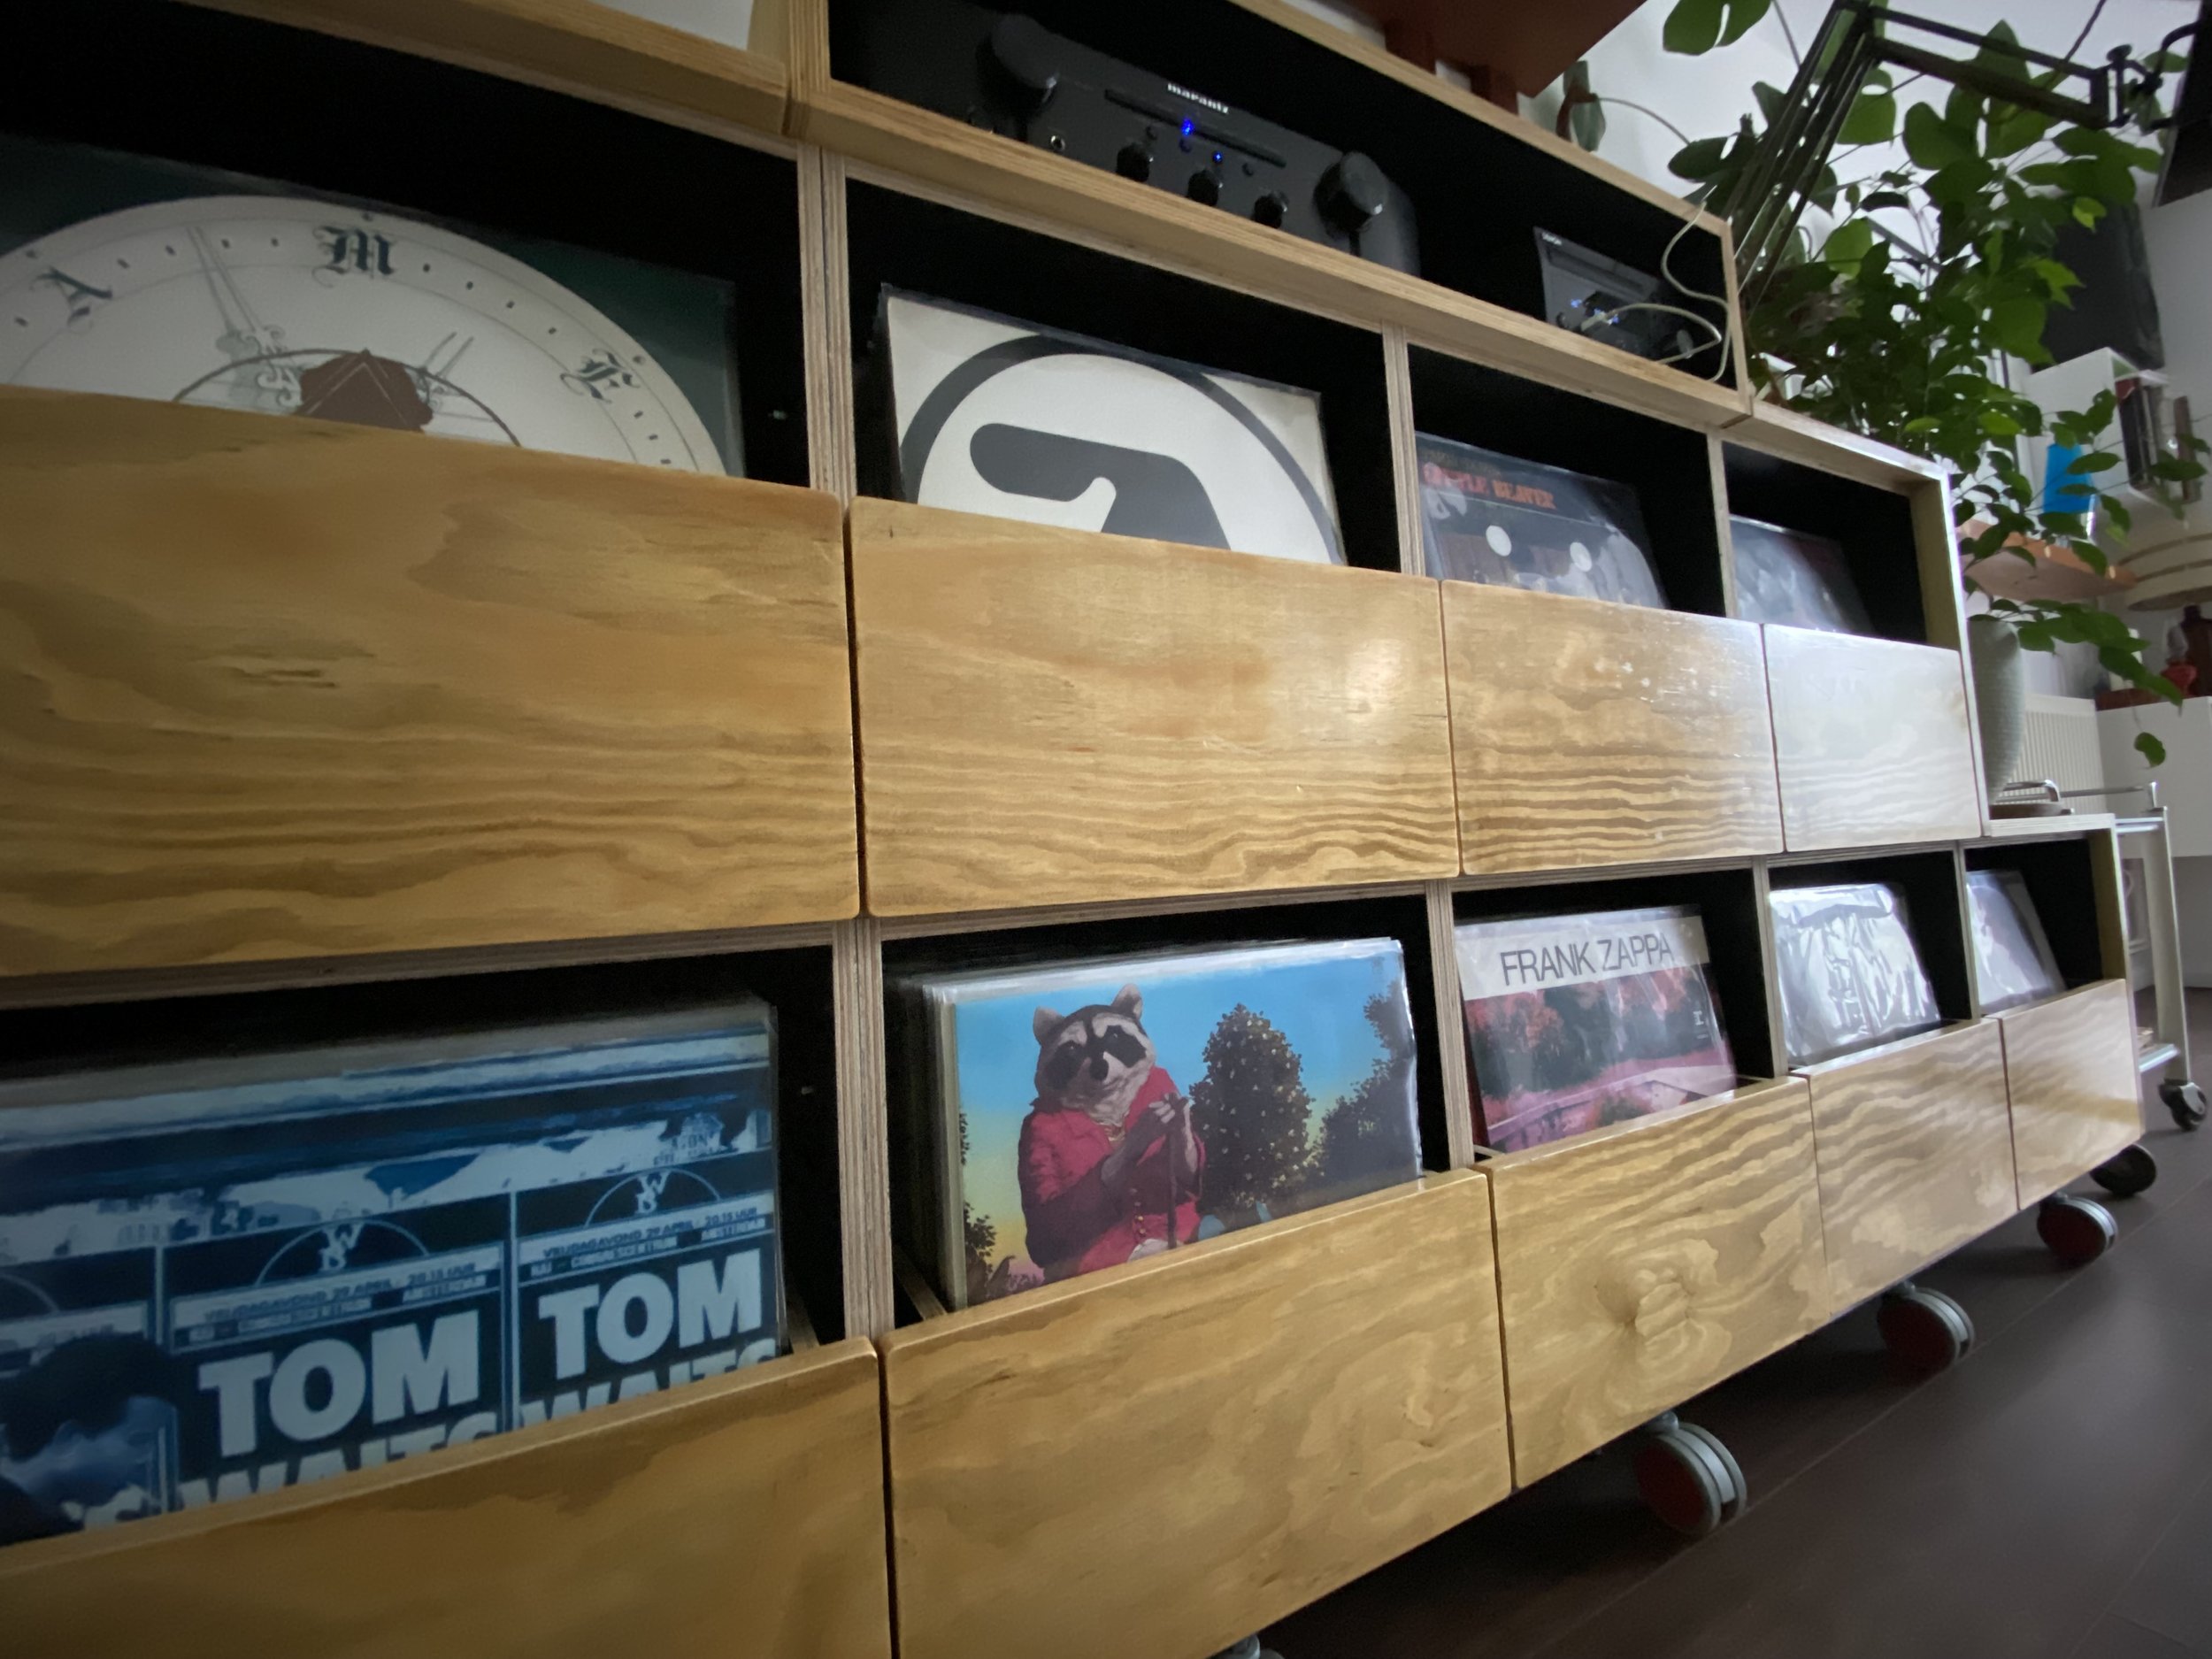
How to…..
Here we’ll post some useful descriptions and videos to help you construct your DMC’s and other modules.
Remember -First things first. Safety. Make sure you’re wearing the correct PPE! Cut proof gloves, eye protection etc. Panels and components may have sharp edges and there’s lots of small screws and parts, so make sure you keep little people and pets away from your chosen construction area. You’re working with wood, so splinters & dust may be a hazard, and the black faced ply can have sharp edges too! Take your time and be careful. Ideally, you’ll have some experience of general DIY and be competent using hand a power tools. If you’re unsure, please do get in touch and we’ll do our best to assist!
How to - Construct your DMC (Drawer Module Carcass)
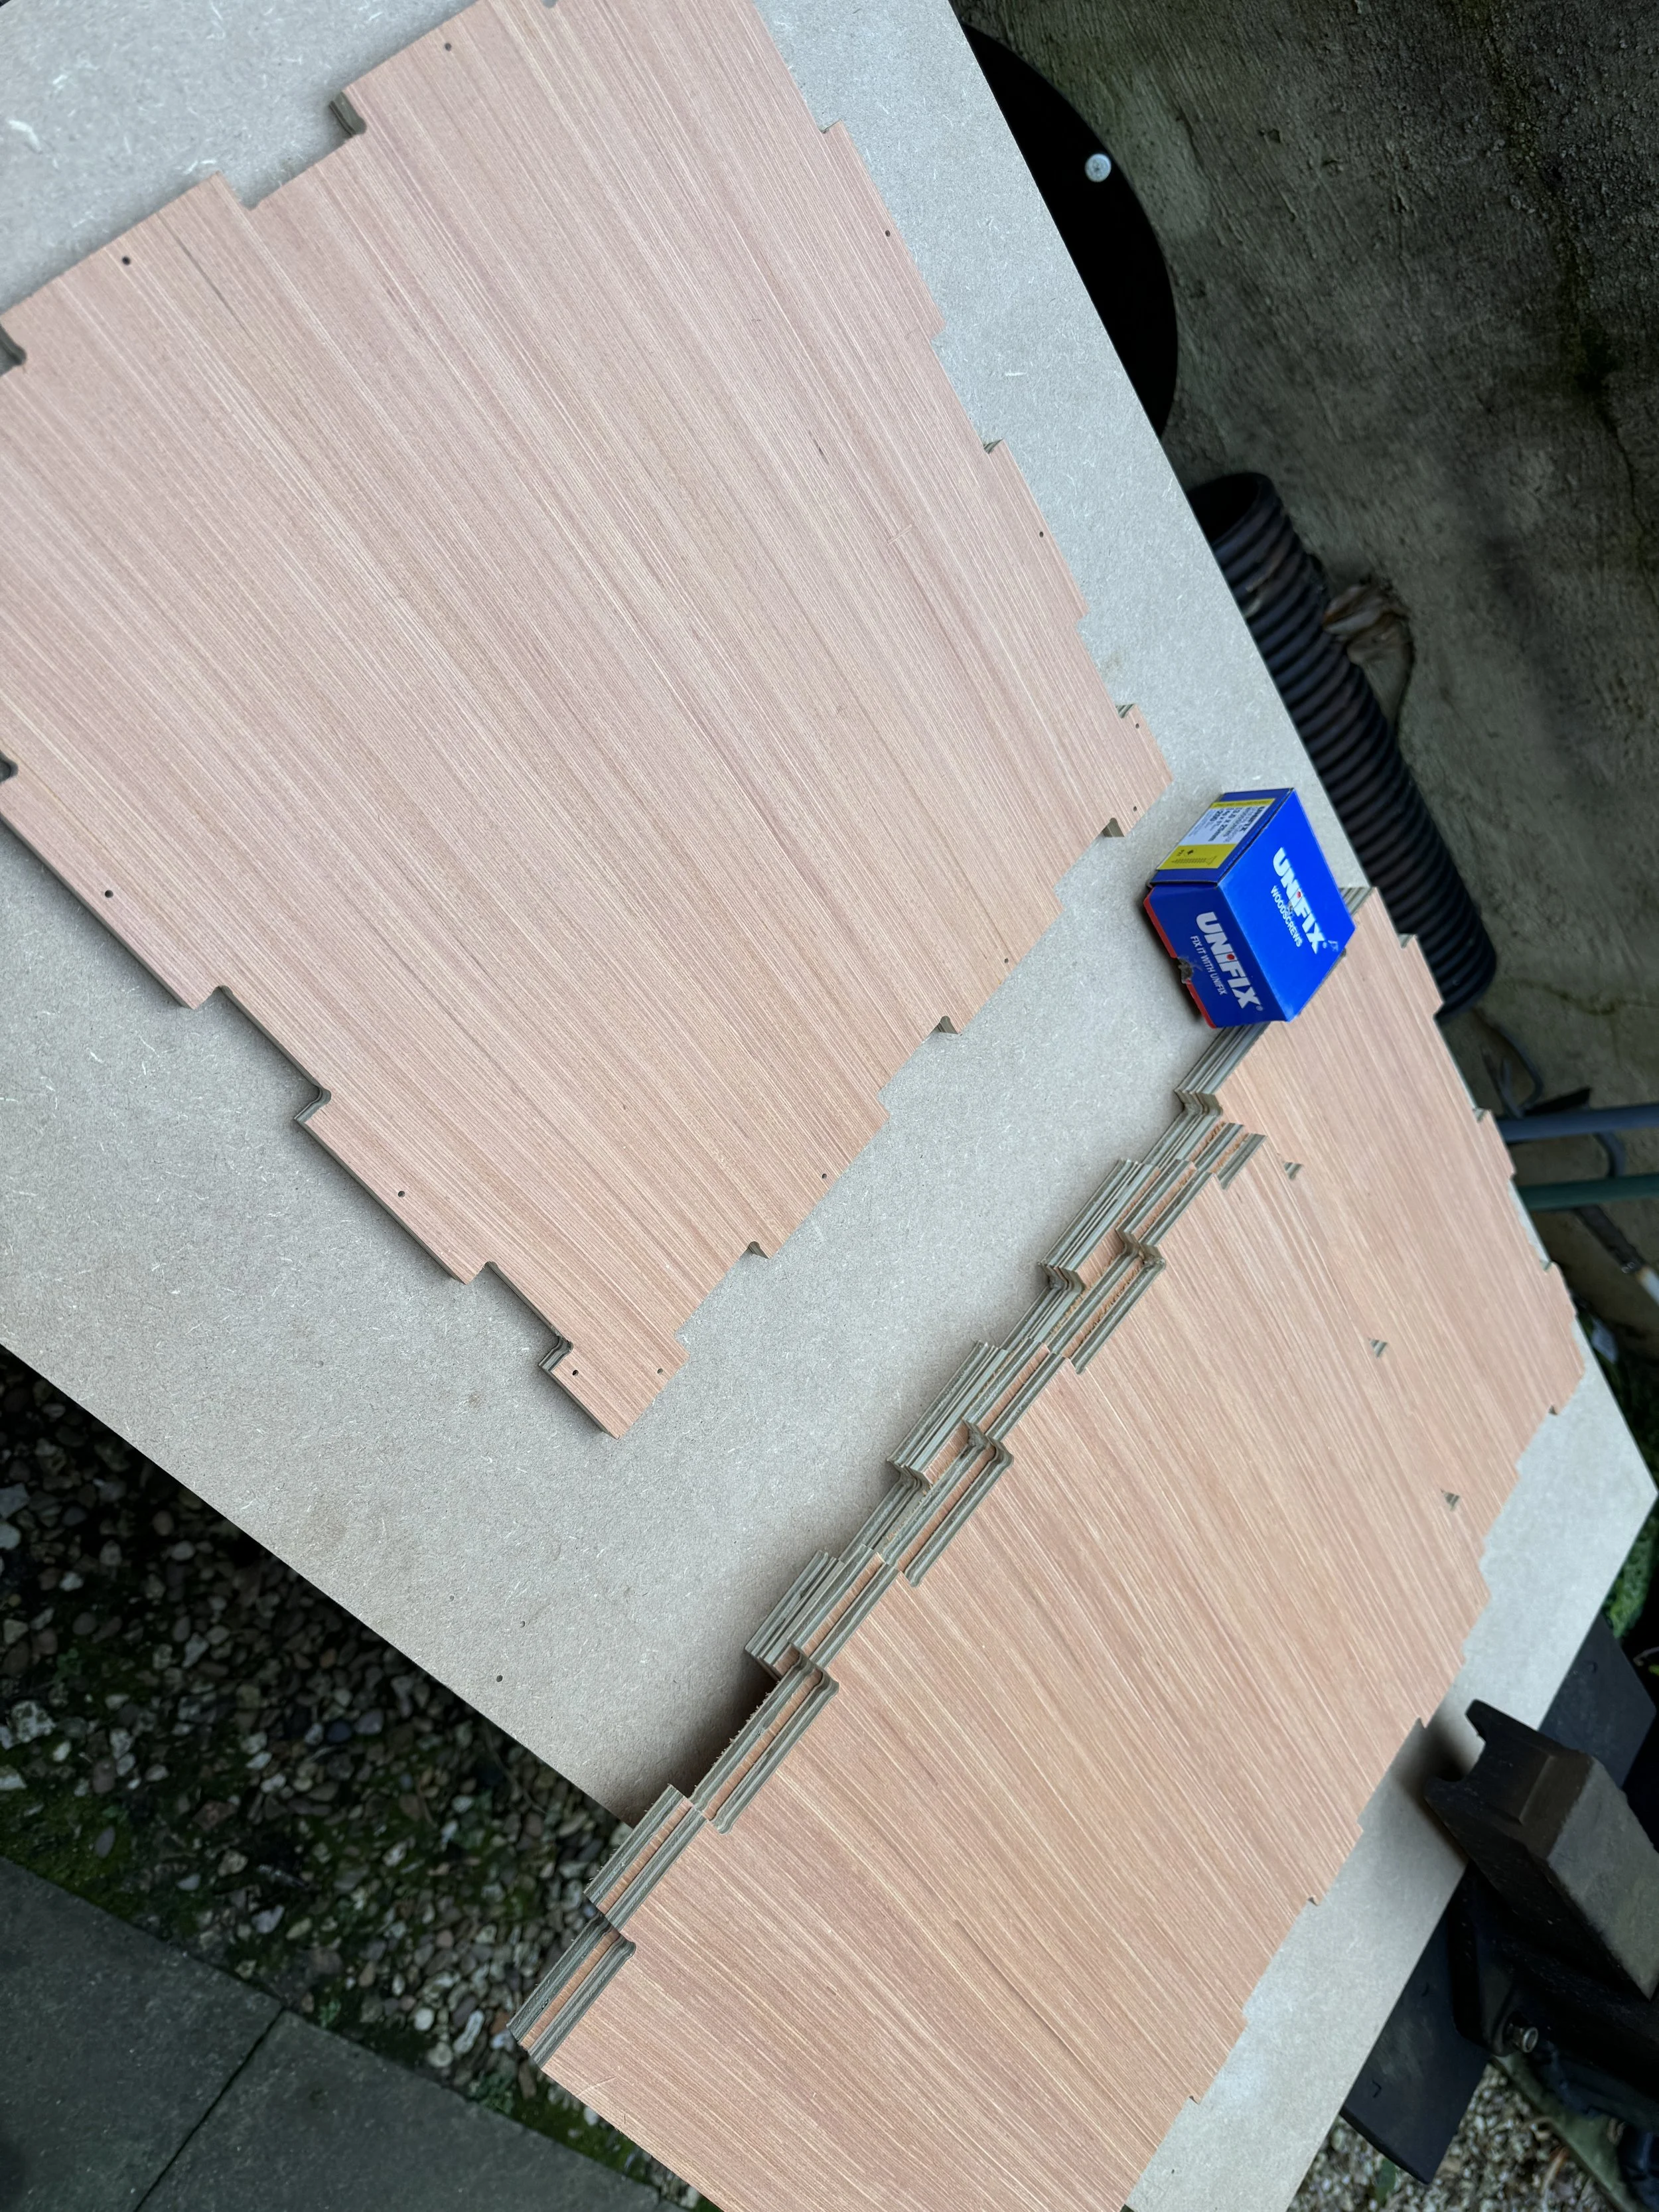
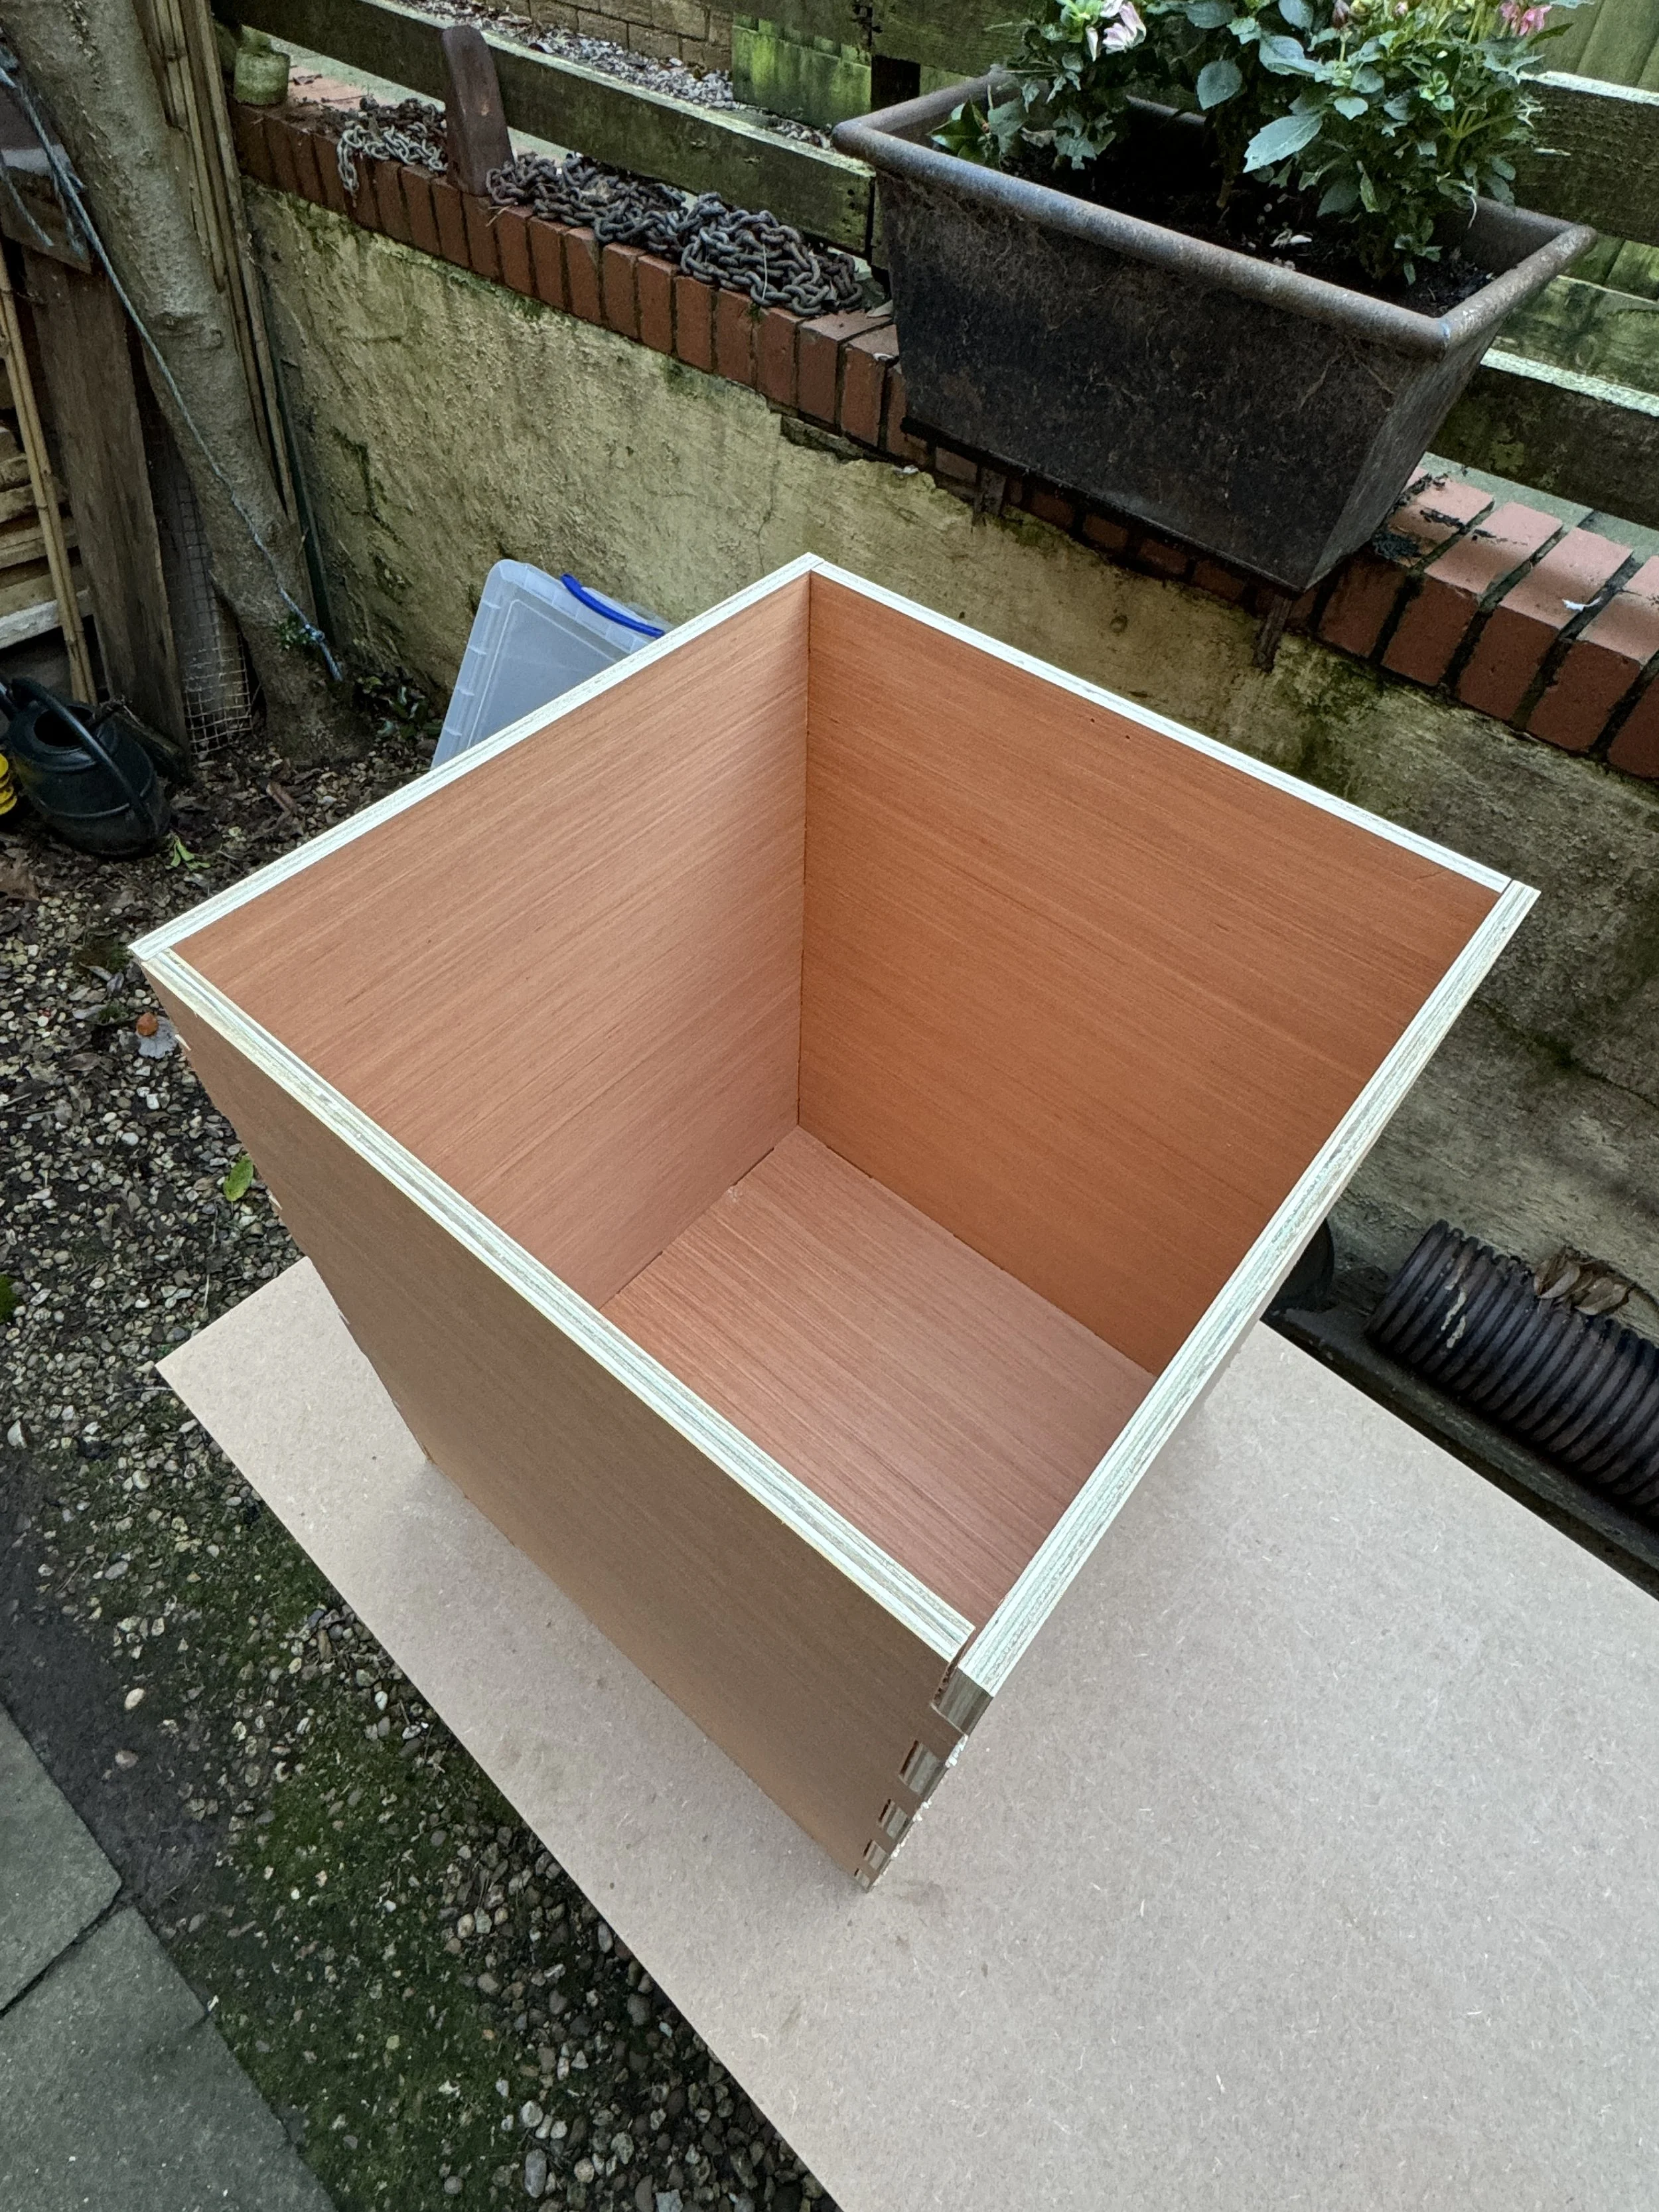
Start by laying out the five parts of the outer carcass. Note the top and bottom panels have two small predrilled holes for the lock catch stay. Start with the back plate flat on the bench, and dry fit the carcass together. Then you can lay the carcass down with the screw holes facing up and begin fixing.
Fixing 3× 25mm screws into the outer carcass.
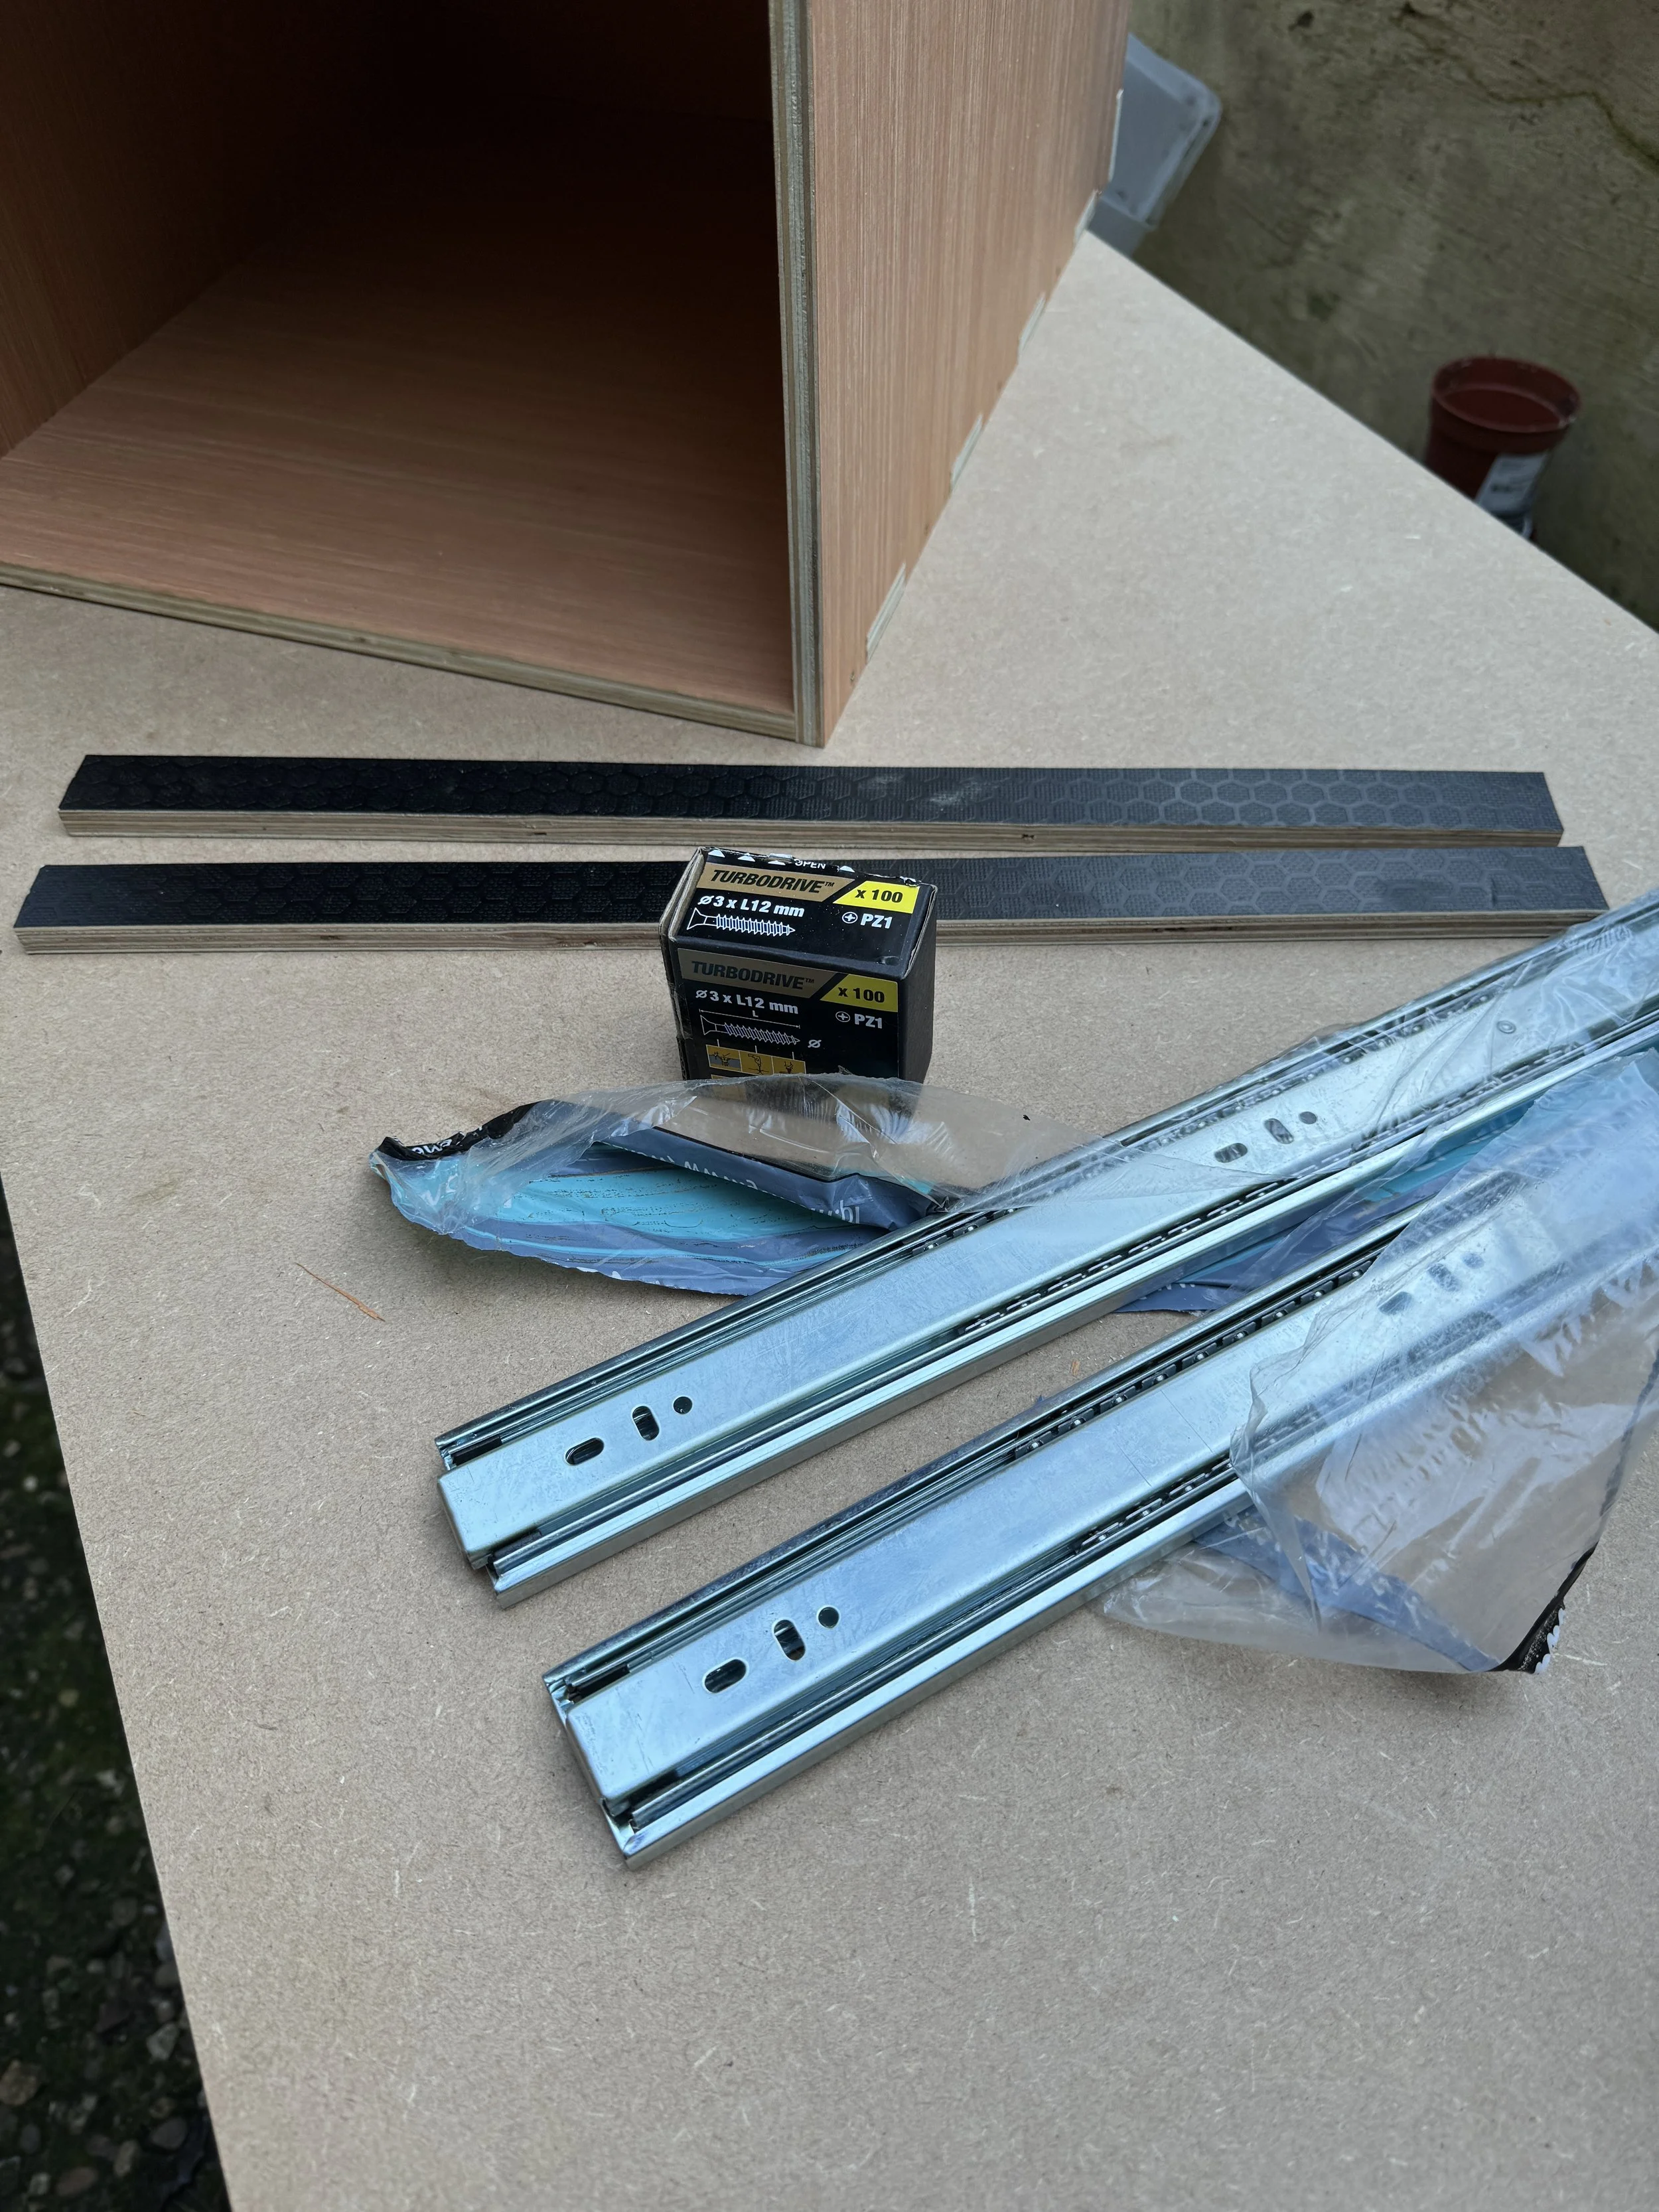
With the main outer carcass complete, next we’ll fit the drawer runners. Use the shims provided to support the runners in place while you fix them to the inner carcass sides. As you place the runner inside the carcass, be sure to open the slide to expose the fixing holes. Fix the back first, then while opening the slide a little more each time, expose all the fixing points working forward until you’ve fixed screws into all the available holes. You’ll need to slide it and out a few times to find all the fixing points.
Using the shims and installing the drawer runners
TIP -
You can lay the DMC carcass on its side to fit the drawer runners. It makes getting the screws fixed much easier. Just make sure you have the runner tight up to the shim, pushing against the base and keep everything lined up correctly!
Fix from the back first and work your way forward moving the sliding part of the runner in and out to find the holes.
The shims will be removed at the end, but leave them in place for now, they’ll be held in place by the runners.
We’ll need them there when we fit the drawer itself into the outer carcass!
OK you’re doing great!
Now you should have the completed outer carcass done, with the drawer runners fitted, and the shims still in place trapped between the runners and the base of the carcass.
Next, it’s time to build the drawer itself….
Gather all the drawer parts together, back, bottom, sides and drawer front, plus hardware. If your using plain ply be careful not to get oil or grease from the drawer runners on the surfaces and drawer front (It could affect painting or waxing etc. later on) You might want to wash your hands!
Assemble the drawer by first dry fitting these parts together - the bottom, sides and back plate.
Make sure you can see all the screw location holes, and that all parts are fitting well and seated correctly.
Now you can begin screwing the sides to the bottom, and then secure the back.
Catch Lock?
If you want to fit the catch lock, now is the time to do it - before we fit the drawer front. You can use the drawer dividers or shims to support the drawer front while you fit it. Unscrew the push button from the catch and fit the catch lock using two 3 x 12mm screws. Once the catch lock is secured, you can fit the drawer front to the drawer carcass. Later we’ll fit the button and surround, so leave those aside for now.
Securing the Drawer Front.
Dry fit the drawer front first taking time to ensure it’s seated correctly and flush to the drawer sides and bottom. It might need a tap with the palm of your hand to drive it home. Once your satisfied it’s fitted correctly we’ll use the round flatpack fixings to secure it.
Insert the round flatpack fixings into the recessed spaces on the drawer sides. It’s worth taking your time and making sure they are seated correctly, and angled slightly up - which makes driving the screws in much easier.
TIP -
It’s much easier to secure the drawer front screws if you turn the drawer upright sitting on the front.
Carefully drive the screws home but be careful not to overtighten them. Care at this stage will allow you to change drawer fronts in future if you wish, or take them off to paint, varnish or decorate them!
Securing the drawer front with our flatpack fixings.
Catch Lock Stay
Before we fit the completed drawer into the outer carcass we need to fit the catch lock stay to the bottom of the outer carcass.
Use the smaller of the four screws in the pack to fit. Be careful not to over tighten these little screws.
Fitting the catch lock stay to he bottom of the outer carcass.
Fitting the Drawer
We’ll be using the shims under the drawer runners again here. You need to pull them out about 100mm so they protrude out of the front.
Extend the drawer runner a little and then insert the completed drawer into the carcass, sliding it back on the shims. Make sure the front overhangs the shims, so that the drawer is level.
Once you have the drawer sitting inside you can extend the runners to the drawer front, and begin securing the runner to the drawer sides with the 3 x 12 screws.
Fit the front three screws both sides first, and then extend the drawer out a little until you find the next set of fixing holes. Once you’ve fitted the centre screws you can remove the drawer and complete fixing the back three screws.
Fixing the runners front end to the drawer sides. Make sure the front of the runner is up against the drawer front!
Fixing the centre of the runner to the drawer sides. Don’t forget to do both sides of the drawer!
Removing the drawer before fixing the final screws at the rear of the runner. With the front and centre fixings in place, you can remove the drawer and fix the rear of the runner.
Great Job!
Just make double sure you have fitted all the screws to the separated drawer runners on the drawer sides and inside the carcass.
Now you can remove the shims from under the runners inside the outer carcass and fit the drawer.
Separating the drawer slide sections using the catch. You can remove the draws any time using the little levers on each side. One side will push up, the opposite side will push down.
Fitting the completed drawer into the outer carcass. Carefully line up both sides making sure everything’s aligned nicely.
The very last thing…..
We just have to complete the catch lock assembly and we’re done! So, choose which button surround you want to use and carefully push it into the catch lock hole.
Then simply screw the button on the threaded post and that’s that! -
All Done!!
Adding the catch lock botton & surround


